
|
 |

|
 |
The following will cover a possibility to create asteroids using PoVRay's isosurface facilities. To follow this tutorial you should be familiar with the basics how to setup a scene in PoVRay, as this tutorial will concentrate only on the generation of an asteroid-like object and not a whole scene.
An isosurface is a possibility to describe an objects surface topology by means of mathematical functions and is especially usefull if it comes to model irregular shapes with a high level of surface details. For a given function the surface will be created between all points in space bearing a certain value, called threshold.
If you would ask people how they imagine an asteroid, you`ll come to the conclusion that we have to model something which looks like a dusty potato covered with craters. To get this look we'll first need a basic shape we can work with. Later we will add more and more details.
As a potato is more or less topologically equivalent to a sphere we will start with a spherical function which we will call BASE_SHAPE.
This will give us a sphere located at the origin where the function value raises from -1 at the center to 0 at an radius of 1. If we set the threshold value of the isosurface to 0, this will give us a sphere with a radius of 1.
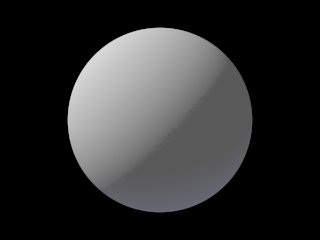
But as we want to make our asteroid look more elliptical we simply scale it a little bit anisotropic. We can achieve this by multiplying the three coordinate parameters of the function according to our needs.
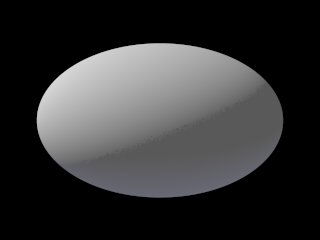
To add some irregularity to our asteroid we use one of the internal functions provided by PoVRay. To do so, we need to include the "functions.inc" include file somewhere at the beginning of our file.
The function we will use is f_noise3d without scaling or something and surprise, ..., we have a nice potato like shape by just adding both function.
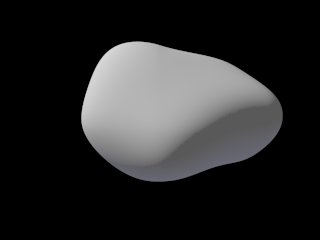
Now as we have a base to work with we want craters, ..., a lot of craters. This seems to be difficult ....
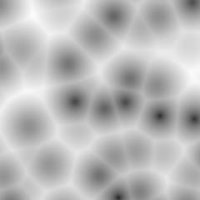
But after some evaluation of different patterns, we would find an appropriate one to work with. This pattern, crackle, is the result of more or less evenly distributed points in space linked by a versatile function. This function can be described through the keyword form. I won't go into detail here, instead interested readers may visit the documentation.
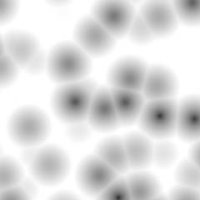
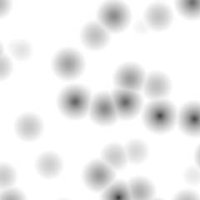
Never the less, a form parameter of <a,0,0> gives us a sponge like pattern. With rising a the holes in the sponge going to be smaller and smaller starting with 0 at the center of each point.
|
|
|
| from <1.0,0,0> | from <1.5,0,0> | from <2.0,0,0> |
As we don't want simple spherical holes in our asteroid we alter this pattern by means of a color_map. This kind of map associates a color with each value of the pattern. We know, that at the center of each crater the pattern bears a value of 0 and rises towards the outside. We will start with declaring a color of <1.0,1.0,1.0> where the center of the crater is and a color of <0.2,0.2,0.2> where the pattern reaches a value of 1. Normally a crater has a small rim, therefore we add the color <0.0,0.0,0.0> where the pattern reaches 0.75, and to avoid abrupt changes in colors we also add the keyword cubic_wave to our pigment.
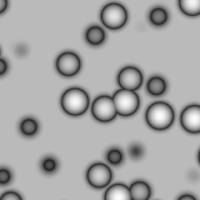
But how do we use this pattern to alter our isosurface ?
Therefore we make use of a special kind of function which can be declared within SDL; a pigment function. This is more or less as wrapping a pigment with a function statement so that we can evaluate this pigment for each given point in space. We'll call this function CRATER_SHAPE_TEMPLT.
Pigment functions have the drawback that you can't assign additional parameters to it. And as we want craters of different sizes, we declare another function using our template function.
This declaration bears a fourth parameter, S, which we will use to scale down the pigment function to our needs. And as an side effect we turn the pigment function, which is a vector function, into a float function by means of the red-operator, giving us only the value of the red component at each evaluated point in space. The reason to do so is simply that we'll need float functions to describe our isosurface.
As we now have our function describing the craters, it is time to add this function to our basic shape.
The first factor gives us control about how deep the craters will be, while the fourth parameter in the function statement controls the overall size of the craters.
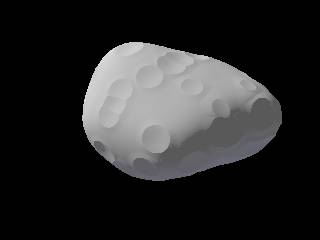
Hhmmm, ..., looks somekind of boring, ...
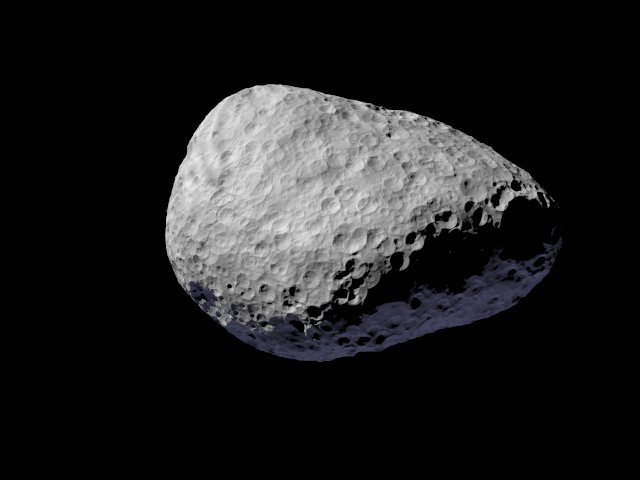
After adding some more layers of craters with different sizes and depths the result is much more convincing.
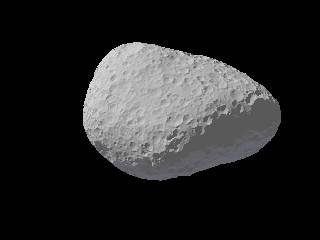
Beside of giving the shape more details, this technique also nicely reproduces the effect of erosion of huge craters by the impact of smaller asteroids.
Of cause an asteroid isn't just simply white, so we do have to do something with the texturing of our shape. We choose an irregular pattern, bozo, for the coloring, as it will give us a nicely appeal of areas with slightly lighter and darker regions.
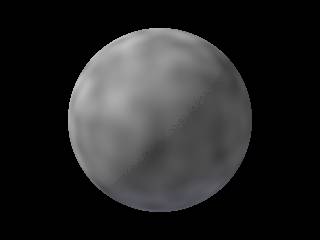
... and after adding a little bit of turbulence to it, we get a nice slightly banded coloring.
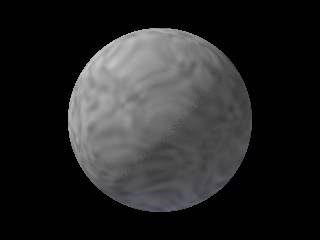
But something still seems to be wrong. In space the lighting allways seems to be quite hard with deep shadows as there is now ambient light. Therefor we have to adjust the finish of our texture as the default values are not sufficient for us.
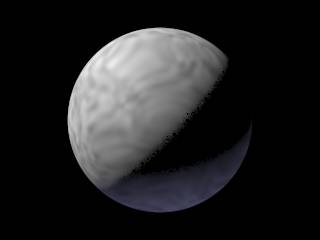
In addition we will add some more irregularity to the surface by specifying a normal pattern to simulate the fine structure without making our isosurface even more complex and therefor slower.
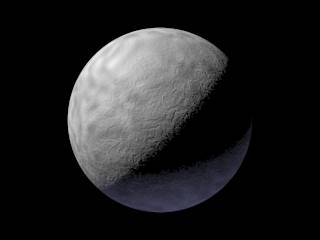
Equipped with the isosurface defining the shape and a texture defining the surface appearance, we are now ready to put everything together in hope to get a nice render of an asteroid.
A larger version of an asteroid rendered with the described technique can be found here.
| D. El Tom (2006) |